I also wanted to use my new Barcelona day bed. It is the most detailed and beautiful Reac piece I have purchased thus far. It was pricey, ($32 with shipping) but it is so large and well designed that I think it is worth every penny. Especially since most upholstered miniature sofas cost about the same, and are nowhere near as realistic-looking. Anyway, it is a work of art on its own, but it also looked just like a lot of the leather benches in modern art museums. I added a few postcards from my collection and textured paper from Michael's to the walls and floor. I had previously put together some miniamalist wall art from Lego that I thought I could use, and to fill up some additional space I stacked some mirror cubes and building blocks, and created a stand from an acrylic table turned sideways and tops with an abstract sculpture I made from a couple of old hoop earrings I never wear. Its funny how easy it is to create "modern art" with a few simple objects. I just played around with them and bent them into a shape I liked. The whole scene only took about 15-20 minutes.
Wednesday, February 22, 2012
margaret_loves Modern Art
I also wanted to use my new Barcelona day bed. It is the most detailed and beautiful Reac piece I have purchased thus far. It was pricey, ($32 with shipping) but it is so large and well designed that I think it is worth every penny. Especially since most upholstered miniature sofas cost about the same, and are nowhere near as realistic-looking. Anyway, it is a work of art on its own, but it also looked just like a lot of the leather benches in modern art museums. I added a few postcards from my collection and textured paper from Michael's to the walls and floor. I had previously put together some miniamalist wall art from Lego that I thought I could use, and to fill up some additional space I stacked some mirror cubes and building blocks, and created a stand from an acrylic table turned sideways and tops with an abstract sculpture I made from a couple of old hoop earrings I never wear. Its funny how easy it is to create "modern art" with a few simple objects. I just played around with them and bent them into a shape I liked. The whole scene only took about 15-20 minutes.
Tuesday, February 21, 2012
margaret_loves making lamps
Now that I have made a couple miniature lamps, I can't seem to stop :). I had saved a few items I thought would make good lamp bases, and now I have finally put them to use.
Left: Lampshade made from a wallpaper sample, base is a green ceramic drawer knob glued on a white button. Center: Shade is made from ribbon, base is painted wood. Right: Shade is white cardstock, base is made from a metal pushpin, blue plastic bead, and clear button. The lampshades are attached using the wire harp method I mentioned in a previous post, though this time I used hot glue to secure them in place.
margaret_loves does not love making lamps
Somehow, when I start to make something tiny and delicate my normal-sized hands transform themselves into huge, clumsy, ape-hands that I have little control over. This is why I have avoided making miniature lamps. But, after a long struggle, I think I was moderately successful in today's attempt. So here's my not-very helpful tutorial if you are anything like me, if not you can whip up a pair of these no problem :).
My lamp bases are made from wooden pegs I found at a craft store. My husband helped cut off the bottom studs with his Dremel tool, and left on the top studs.
I painted the wooden lamp bases and coated them in clear gloss medium, (I still need to do some touch ups) and then I fashioned a lampshade harp from some wire. I basically created a loop that wraps around the top stud of each lamp base, with arms reaching up to hold the shade. For the shades, I used two types of ribbon I had on hand. The white one is wired and had satin edges and a sheer center, I wanted to use it but I needed it to be opaque, so I taped a strip of gray ribbon behind it. I was afraid to use glue, since it might soak through the ribbon and create spots, so I used clear tape to hold it in a cylinder shape. The hardest part was taping the shades in place while reaching inside the lamp and taping it to the wire harp. I kept pulling it and putting it on too high or too low, and messing up the shape of my fragile lampshade in the process. Anyway, I think it worked out okay in the end, and I'll keep thinking about an easier method. For now I am happy to have some new lamps! Here is a preview in a scene I am working on with my new lamps:
Sunday, February 19, 2012
Cheering up a Gloomy Sunday: Charlotte's Room
The dresser is a Re-Ment nightstand with the lamp removed. The numbers wall art is made using scrapbook stickers. I bought the horses yesterday in a mixed bag of plastic toys from a thrift store. The bed is also from a thrift store, it is from a common miniature nursery furniture set. I used a cocktail umbrella for a parasol, it would be cool to put a light behind it and make it into a lamp. The tree is laser cut wood I found it at a scrapbooking store. The bookcase is commonly found generic furniture as well, I just painted it white and temporarily put paper on the back of each shelf. All the decorative papers (rug, floor, walls, etc) are from Michael's. The chair is Reac Japan. The origami elephant is from a Jonathan Adler origami kit. All accessories are Re-Ment, Dollhouse Emporium, handmade, children's toys, or hobby store finds.
Saturday, February 18, 2012
margaret_loves Miniature Swaps!
I just wrapped up my first miniature swap parcel for Alisa (studioseven) whom I met on the Modern Miniatures group on Flickr! We set a budget of $10 for the swap, and I suggested the color blue for the theme. She uses Playscale and 1:12 items, so I included a mixture of both. Since she already received her package from me, I think it is safe to post pictures of some of the items I sent her :)
On the left is a photo of a few mostly handmade items I included in her package. I've seen the hanging Bubble chair idea a lot of places, like Mad for Mod and Minimodernistas, and I have been wanting to make my own version. I made cushions from my thrift store blue velvet shirt fabric, filled them with dry long-grain rice and stitched the openings together. I used a jewelry chain to hang it, and I think it came out pretty nice. The chair is half of a plastic Christmas ornament globe from Michael's. I am going to make another one for myself with the other half.
The two cubes are wooden craft cubes from Michael's with squares of felt and mirror board glued on to create cube tables/ottomans. I also cut the grey textured rug and zebra print rug from felt sheets. The acrylic table is one of the display risers I purchased on ebay.

It was a lot of fun working on the swap, and I enjoyed the challenge of working with a budget and theme. I hope to do it again soon. Let me know if you are interested in a miniatures swap! When I receive my package from Alisa, I will post more photos.
The two cubes are wooden craft cubes from Michael's with squares of felt and mirror board glued on to create cube tables/ottomans. I also cut the grey textured rug and zebra print rug from felt sheets. The acrylic table is one of the display risers I purchased on ebay.
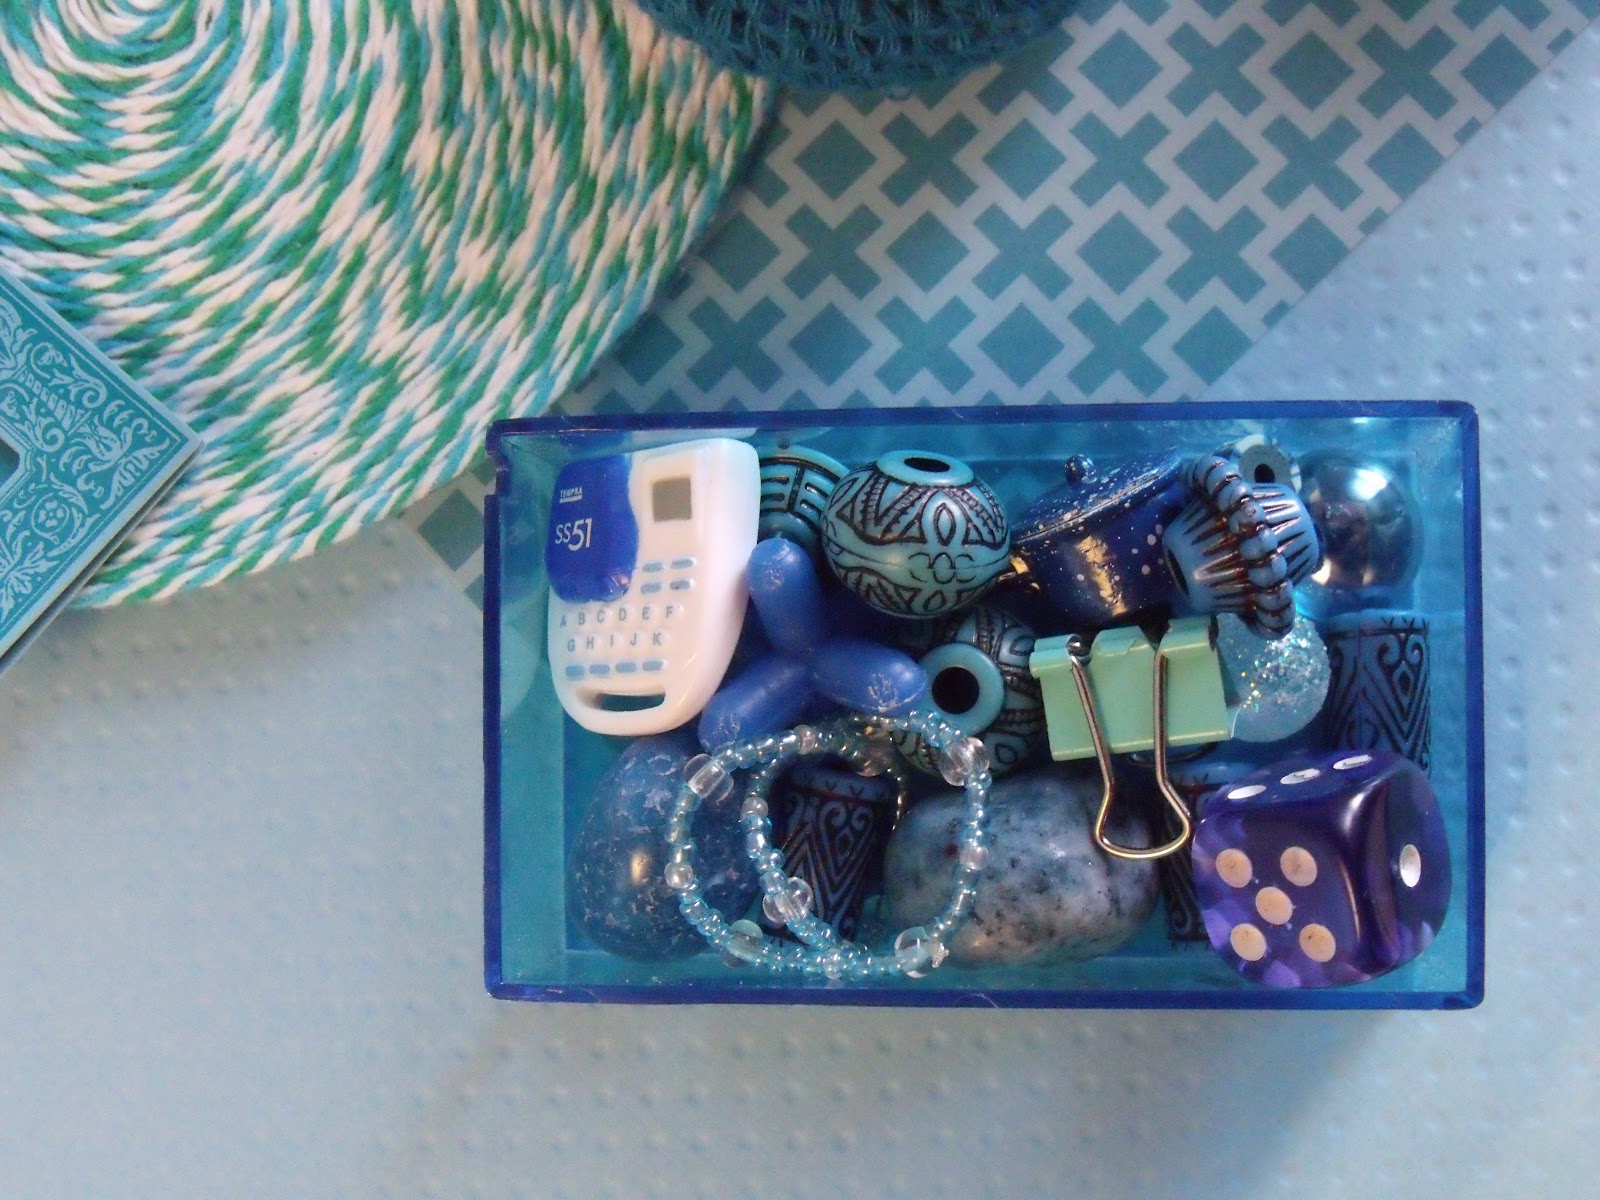
The round rug (on right) I made was inspired by Amazing Miniatures. She has posted a super quick and easy rug making tutorial using simple materials most crafters already have on hand. I liked using multicolored twine and the spiral pattern it makes. The other "rug" is origami paper by Jonathan Adler. I found the blue Barbie chair at a thrift store. Below it is a side table made from wooden bits that I glued and painted, and below it in the photo is a Playscale cake stand by Re-Ment. The knitted pouffe is a hacky sack/footbag from Party City. The picture frame is a Scrapbook sticker from Michael's. The lion (or faux "Foo" dog) is a painted bead coated in gloss medium. The hand is an eraser from Target. I also filled a blue toothpick case with beads and other small bits and miniatures.
It was a lot of fun working on the swap, and I enjoyed the challenge of working with a budget and theme. I hope to do it again soon. Let me know if you are interested in a miniatures swap! When I receive my package from Alisa, I will post more photos.
Sunday, February 12, 2012
margaret_loves Navy Blue Velvet
I've been obsessed with the idea of having a navy blue velvet couch in my formal living room. I've pinned some pretty fabulous blue velvet sofas and other furniture to my Wish List board on Pinterest. Not sure my husband is as in love with the style as I am, and it will be a long time before I can afford one (and by then I may have moved on to another trend, knowing me). So, to satisfy my craving for a glamorous navy velvet Carrie Bradshaw-esque couch, of course it is time to turn to miniature!
A while back I won this couch from a Call of the Small giveaway. I used it in one scene that I thought was pretty cute, but the color and pattern isn't very appealing to me. It has pretty clean lines and a simple design though, so the time has come for a makeover. Have I ever reupholstered miniature furniture before? No, this will be a first :)
I wanted to remove the bottom part of the sofa and replace it with some wooden or chrome legs. This step was easier said than done. I used a kitchen knife to wedge, slice, crack, and pry the bugger off. Finally, it was done, with a mess of tiny nails sticking out. They snapped off easily enough with a wire cutter.
Next I starting playing with fabric. I looked for navy velvet fabric at a craft store, but before buying it I thought about looking instead at used clothing from a thrift store. I found a long-sleeved buttoned down blue velvet women's shirt. It was more than enough fabric, plus it cost a lot less. After deconstructing the shirt, I cut off a piece and started contemplating how to cover my sofa. I used straight pins to hold it in place. Now I am kind of stuck. I don't know what to do next. Should I use glue or staples to attach the fabric directly? Sew some kind of slip cover? Sew or pin the fabric directly? Or just figure out some temporary way to keep it on.
I am also considering using pins or thread with tiny beads to create a tufted detail on the back of the sofa, but I am not sure it would look right with the overall style. Anyway, that's a little too much information/over thinking for this project. Any advice would be great, and I'll let you see how it turns out.
Once I finish it, I have some lots of 1:1 scale inspiration photos I can attempt to recreate in 1:12 scale. Oh, and apparently nothing goes better with a navy velvet couch than a zebra skin rug and acrylic coffee table :)

Images from Pinterest.
Saturday, February 11, 2012
margaret_loves Roomboxes
I saw these storage cubes on Design Milk. I am drooling over the sliding cut-out walls in different colors and designs. I want them all to make into dollhouse rooms! Too bad they are just prototypes for now from Note Design Studio in Sweden.
Subscribe to:
Posts (Atom)